REVIEW · LONDON
Night Photography Tour in London
Book on GetYourGuide →Operated by 11252821 · Bookable on GetYourGuide
Night photos in London get way easier.
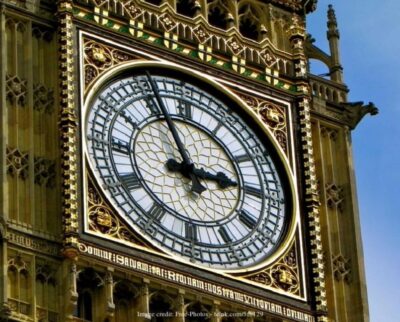
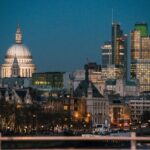
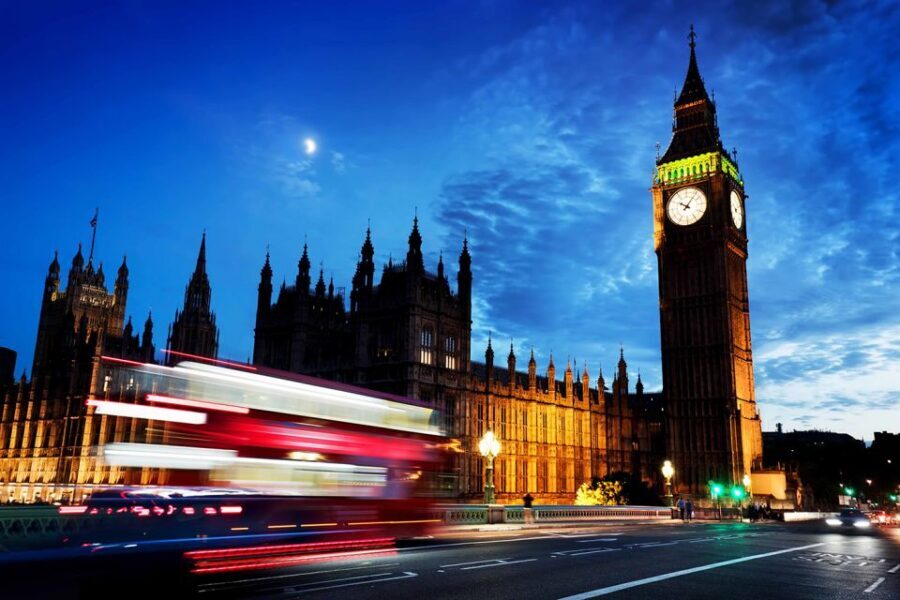
A guided night shoot across the Thames sounds simple, but the payoff is big: you get landmark views plus hands-on coaching on how to actually photograph them after dark. You’ll work classic stops like the London Eye, St Paul’s Cathedral, Big Ben, and Tower Bridge, with built-in chances for reflections, lights, and moving city detail.
What I really liked was the pro guidance and the practical focus on getting shots in low light. A common win here is learning both camera and smartphone basics so you can leave with photos you’re proud of, not just blurry souvenirs.
My favorite part was the way the guide, David, stayed patient while helping me learn my camera and even iPhone shooting ideas. I also appreciated how the tour feels personal for your skill level, not one-size-fits-all.
One thing to plan for: you need a tripod. If you don’t have one, you can hire one for £30 for the duration of the tour, so budget that in.
In This Review
- Key things that make this night shoot work
- London at night: why this tour’s format fits photography
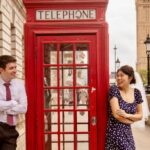
- Starting outside Caffè Nero (Westminster Station): getting set before the lights
- London Eye after dark: reflections, timing, and strong composition
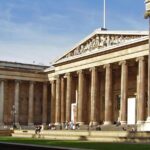
- St Paul’s Cathedral at night: dramatic angles without losing detail
- Tower Bridge finale: the best payoff for Thames reflections
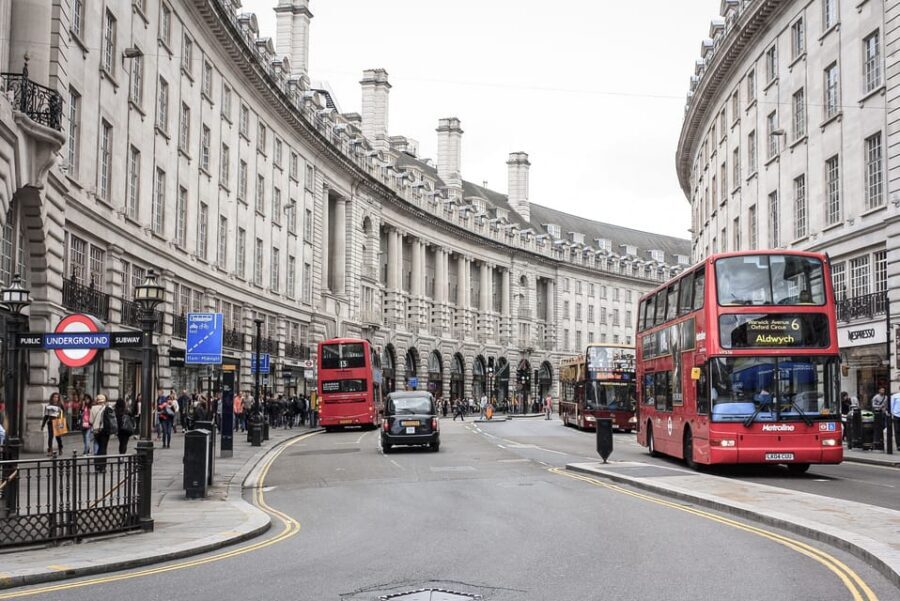
- Double-decker buses and city lights: how motion can improve your frames
- Tripod requirement: the one gear detail that changes your results
- Who this tour fits best (and who might want to choose something else)
- Price and value: $282.87 per group up to 5
- The coaching style that makes you leave with better photos
- Should you book this London night photography tour?
- FAQ
- FAQ
- How long is the Night Photography Tour in London?
- How much does the tour cost?
- Where do we meet?
- What are the main photo stops?
- Does the tour include walking across the Thames?
- Is the tour suitable for cameras and smartphones?
- Do I need a tripod?
- What should I expect to learn?
- Is the tour wheelchair accessible?
- Is there anything provided after the tour?
Key things that make this night shoot work
- Pro coaching for DSLR, mirrorless, and smartphones so you’re not stuck guessing
- Thames crossing for more angles and those glossy reflection shots
- Landmark sequence that makes sense for night lighting (London Eye → St Paul’s → Tower Bridge)
- Long-exposure and low-light advice focused on what you’re doing in real time
- David-style patience when you’re still figuring out your settings
- An e-guidebook afterward so you can practice after you’re home
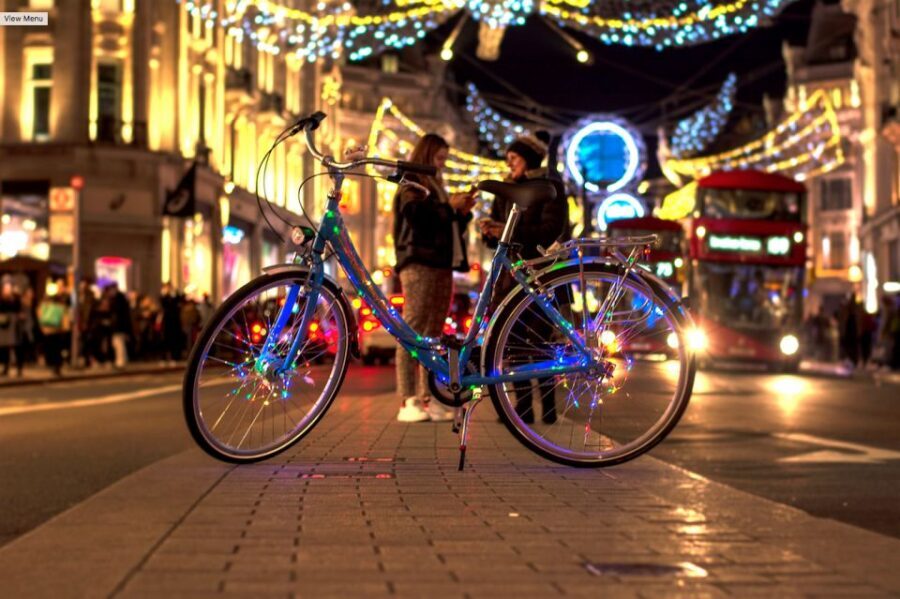
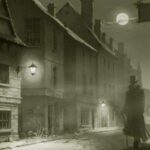
London at night: why this tour’s format fits photography
London night photography is a special challenge. The city is bright in places, but your camera has to manage mixed light: street lamps, landmark LEDs, and sky darkness all at once. That’s exactly where a trained guide helps—because it’s not just where you stand, it’s how you approach the scene.
This tour is built around that reality. You’re not doing a random walk with a camera. You’re getting a structured night route and time at each major stop to try different compositions and methods, including low-light shooting and long exposure techniques. And since it’s a private group (up to 5), you’re more likely to get the kind of feedback that corrects your next shot, not a generic tip you forget immediately.
You can also read our reviews of more evening experiences in London
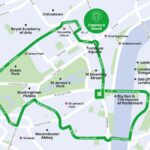
Starting outside Caffè Nero (Westminster Station): getting set before the lights
You meet outside Caffè Nero near Westminster Station, then the night session kicks off from there. The meeting spot matters because it gets you into the flow of central London quickly, before the best night views start pulling you around.
Early on, expect your guide to orient you to what you’re trying to photograph and what to prioritize. For me, the value of this start is that you can go into the first landmark stop already thinking in frames: where your subject goes, how to include the surrounding lights, and how to keep your camera stable enough for longer shots.
Also, this is a hands-on tour, and the guide will tailor coaching based on your current skill level. If you’re starting from scratch, that’s a relief. If you already know some basics, you’ll still benefit from targeted adjustments.
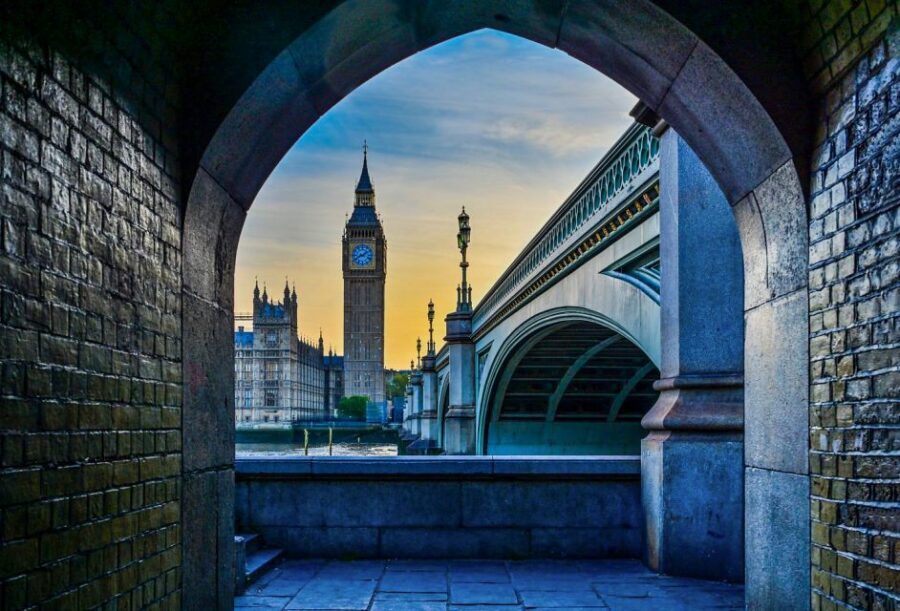
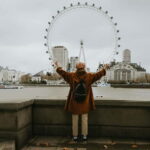
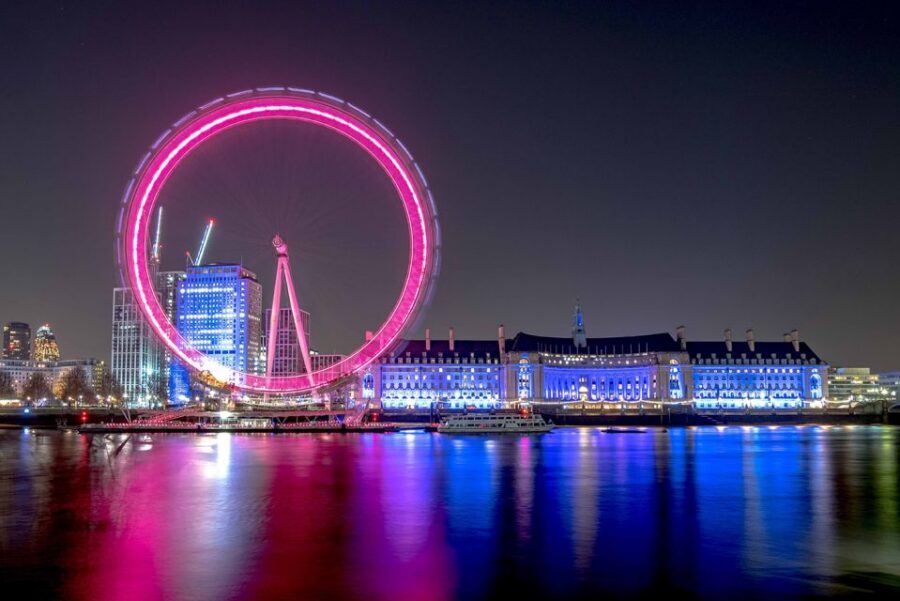
London Eye after dark: reflections, timing, and strong composition
Your first main photo stop is the London Eye, with about 45 minutes for sightseeing and photography class. This is a smart choice for a night tour because the Eye gives you a tall, bright subject and a clear chance to work with reflections.
Here’s what you’re likely to focus on:
- using the lights from the Eye and nearby street illumination as your color and exposure guide
- composing with the Thames reflections so your photo has depth, not just a glowing landmark
- trying different approaches for sharpness versus dreamy motion (especially since London has regular night movement)
This is also where you learn the practical side of night shooting: how to get results that look intentional. Night photos can quickly become either too dark or overexposed. A guide helps you avoid that by explaining how to interpret the scene and adjust so the photo matches what your eyes notice.
One more bonus at this stop: you’ll often be surrounded by city lights and activity that add texture to your frame, including the kind of night details you don’t think about until someone points them out.
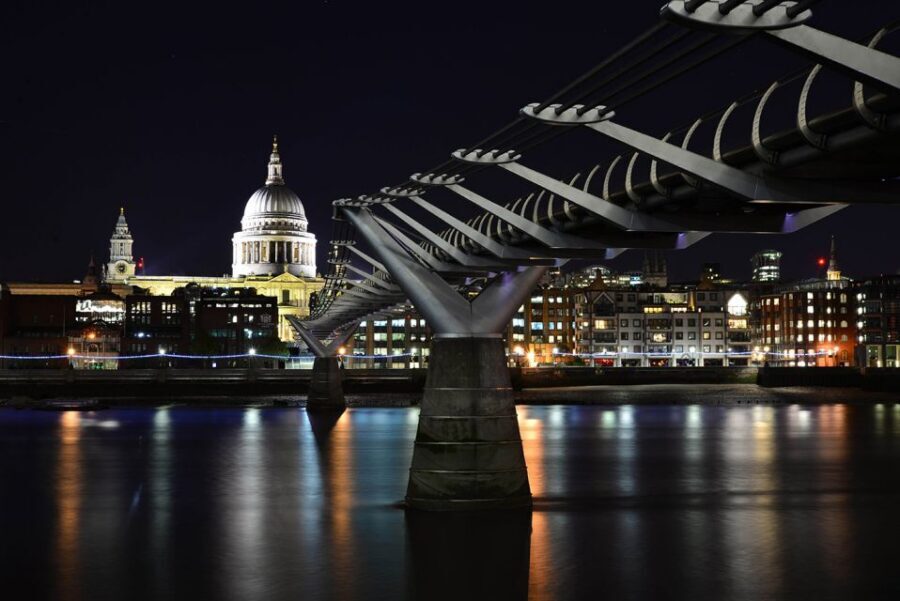
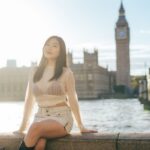
St Paul’s Cathedral at night: dramatic angles without losing detail
Next comes St Paul’s Cathedral for another 45 minutes of photo time plus sightseeing. St Paul’s is a great mid-tour anchor because it’s visually strong even when the light gets complicated. You get a mix of architectural detail and glowing edges, which is what makes cathedral photos so satisfying when they’re done well.
This stop is also ideal for practicing low-light fundamentals. When you move from one bright landmark to another, your camera behavior changes. The guide’s job is to help you adapt: keep the important parts of the building readable, manage brightness, and stabilize the shot so the structure stays crisp instead of smearing into the sky.
Why that matters: cathedral night photos can look either magical or messy depending on exposure and steadiness. With coaching during the actual walk, you’re not just learning theory—you’re adjusting in the moment.
And because the tour is structured, you’ll have time to try a few variations. That’s key. Getting one decent photo is luck. Getting a set you like takes trying again, and you’ll have the time to do that.
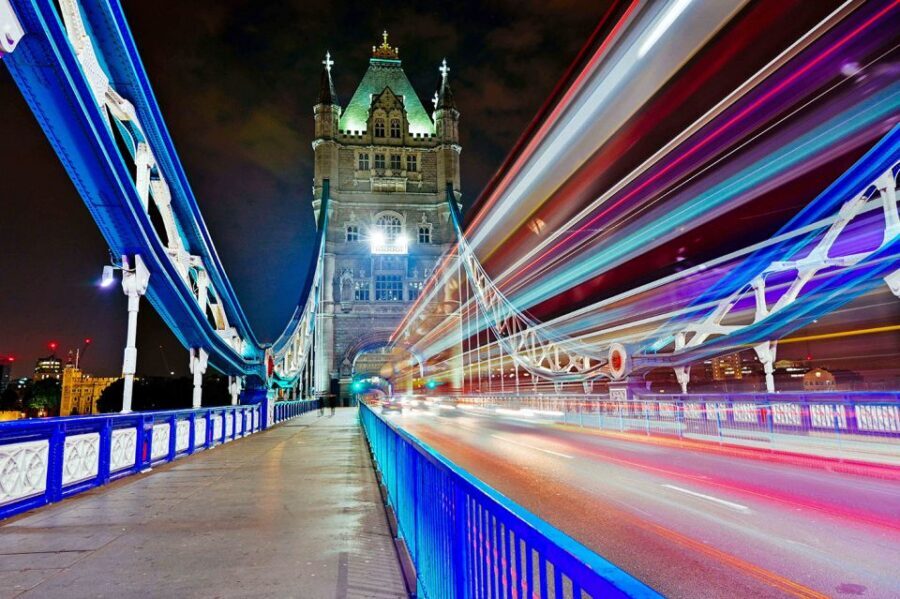
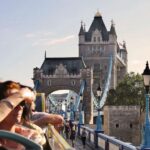
Tower Bridge finale: the best payoff for Thames reflections
The last photo stop is Tower Bridge, again with about 45 minutes for photos and sightseeing. If you want the classic “London at night” image, this is the place. Tower Bridge looks dramatic from multiple angles, and the surrounding river area gives you that reflective surface you want for night compositions.
The tour includes walking across the Thames and exploring the river’s north and south banks. That matters for photography because it gives you different sightlines. The same landmark can look completely different based on your position relative to the water and the light sources.
Tower Bridge is also where you can practice long exposure more confidently. The guide will help you with the why and how of long exposure for low light, which is basically the heart of night photography. The city lights can turn into clean streaks or gentle glow depending on your approach—and you’ll have the time to test what works with your camera or phone.
You’ll finish at Tower Bridge as part of the planned route. One detail to double-check before you go: the general meeting info also mentions returning to the meeting point. Since the plan explicitly says the end is Tower Bridge, I’d confirm with the operator what your exact walk-back will look like so you can plan your night transport.
You can also read our reviews of more photography tours in London


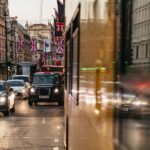
Double-decker buses and city lights: how motion can improve your frames
One of the fun parts of this tour is that you’re not only shooting still monuments. London at night moves, and that movement can help your photos feel alive. This experience specifically calls out reflections along the Thames and the presence of double-decker buses and city lights—so your guide is likely thinking about how those elements fit into your composition.
Practical takeaway: don’t automatically assume motion is a problem. Motion can add energy if you’re using it on purpose—especially when you’re working with long exposure. Your guide’s coaching on long exposure and low light is what turns that from a blur accident into a creative effect.
Tripod requirement: the one gear detail that changes your results
Let’s talk about the tripod, because this is the deal-breaker for many night shots. The tour requires a tripod. If you don’t have one, the option to hire one is £30 for the duration of the tour, which is useful if you’re traveling light.
Why this matters so much: long exposure depends on stability. Handholding can work for some bright night shots, but when you’re trying to capture reflections and keep buildings sharp, a tripod is what helps the difference feel obvious in the final images.
If you have a tripod already, check it before you leave your hotel. Make sure it can handle your camera or smartphone setup safely. If you’re using a smartphone, you’ll still benefit from stabilization, even if your setup looks different than a camera rig.
Who this tour fits best (and who might want to choose something else)
This night photography tour is a great fit if you:
- want landmark photos that look more intentional than automatic mode
- are learning low light and long exposure and want feedback while you practice
- travel with a small group and want up-close coaching
- want your guide to help with either a digital camera or your smartphone
It’s also a strong choice for people who don’t have much time to figure things out alone. Two and a half hours is short, but it’s enough time to make progress when someone is guiding your next shot and helping you avoid the most common night-photo mistakes.
If you absolutely hate bringing extra gear and hate the idea of a tripod, then this one may feel like friction—even with the hire option. The tripod requirement is part of what makes the night results work.
Price and value: $282.87 per group up to 5
The price is $282.87 per group up to 5, for about 2.5 hours. That’s not a bargain-basement price, but it can be very good value for what you get.
Here’s why:
- You’re paying for a pro photographer guide and structured time at multiple major landmarks.
- You get coaching for low light and long exposure, which is the hard part of night photography.
- Since it’s a private group, you’re more likely to get personalized advice instead of waiting your turn.
For value math, think in group-splitting terms. If you have friends or family who will actively shoot and ask questions, the cost per person becomes easier to justify. If you’re coming solo and are set on night photography but would rather keep costs low, you might find cheaper group options elsewhere—but you’d trade away some personalization.
The coaching style that makes you leave with better photos
The best hint you can take from the experience is how the guide works with different skill levels. David was praised for being patient and for helping both camera users and iPhone shooters. That’s the kind of guide you want when the goal is learning, not just collecting photos.
What I found useful about that coaching approach is that it removes the panic. Night photography can feel like a guessing game: you change one setting and suddenly the whole image shifts. A good guide helps you understand what to adjust next so your learning sticks.
The tour ends with more than just photos. You also get an e-guidebook afterward, which matters because night photography skills often need repetition. That follow-up helps you practice the same techniques again when you’re not freezing at the river edge.
Should you book this London night photography tour?
Yes, I’d book it if you want guided night photography with real instruction and you’re willing to work with a tripod. It’s especially worth it if you care about getting more than one good shot at Tower Bridge, and you want help with the low-light and long-exposure side of the craft.
I’d reconsider if you’re hoping for a casual stroll with no gear changes. The tripod requirement is real, and the quality of the results depends on using it.
If you’re flexible on your night schedule, also consider that the tour has different starting times. Picking a time that feels comfortable for you can make the whole session calmer, and calmer you usually takes better photos.
FAQ
FAQ
How long is the Night Photography Tour in London?
The tour lasts about 2.5 hours.
How much does the tour cost?
It costs $282.87 per group for up to 5 people.
Where do we meet?
You meet outside Caffè Nero near Westminster Station.
What are the main photo stops?
The tour includes photo stops at the London Eye, St Paul’s Cathedral, and Tower Bridge.
Does the tour include walking across the Thames?
Yes. You walk across the Thames and explore the river’s north and south banks.
Is the tour suitable for cameras and smartphones?
Yes. It’s suitable for DSLRs, mirrorless cameras, and smartphones.
Do I need a tripod?
Yes, you will need a tripod. If you don’t have one, you can hire one for £30 for the duration of the tour.
What should I expect to learn?
The guide provides expert advice on photography, including shooting in low light and with long exposure, with coaching tailored to your level.
Is the tour wheelchair accessible?
Yes, it is wheelchair accessible.
Is there anything provided after the tour?
Yes. You receive an e-guidebook after the tour to help you keep practicing.